
Last updated November 2, 2026
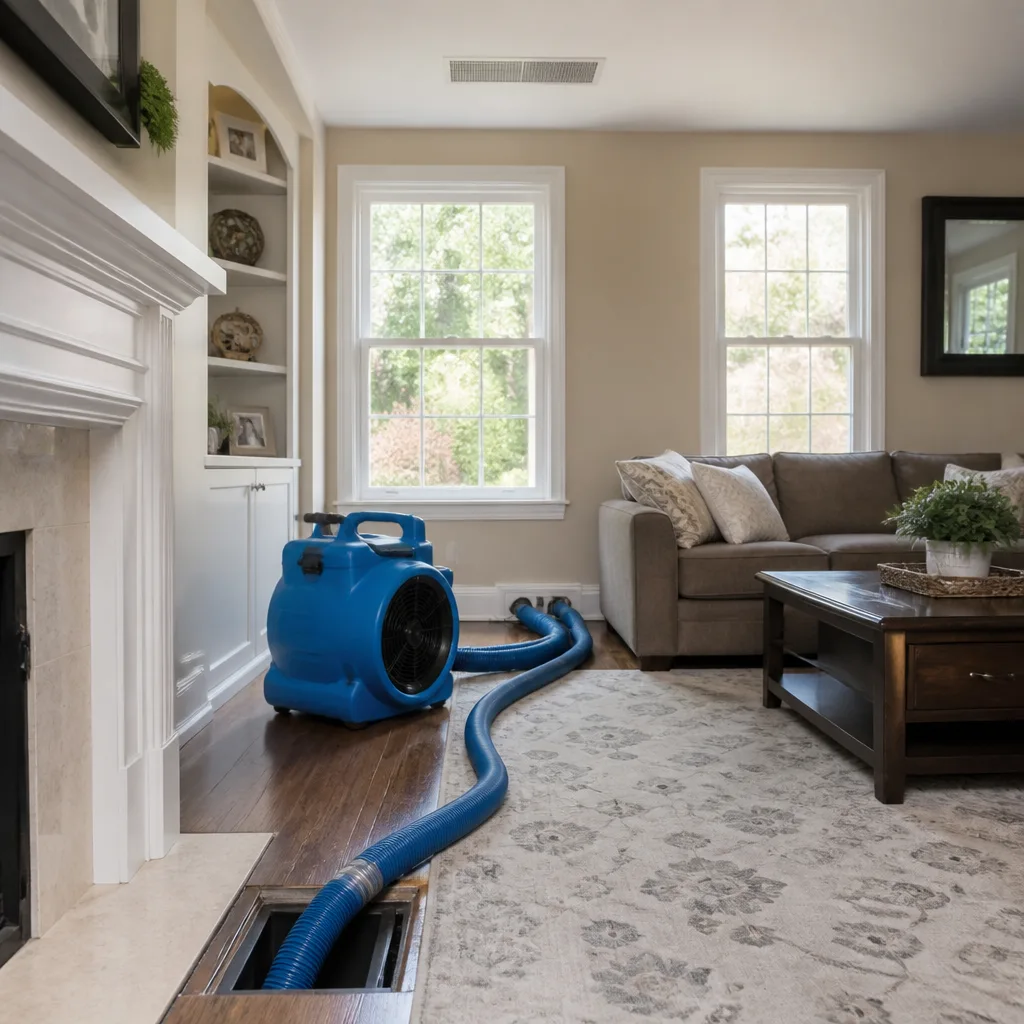 Whole-home duct cleaning
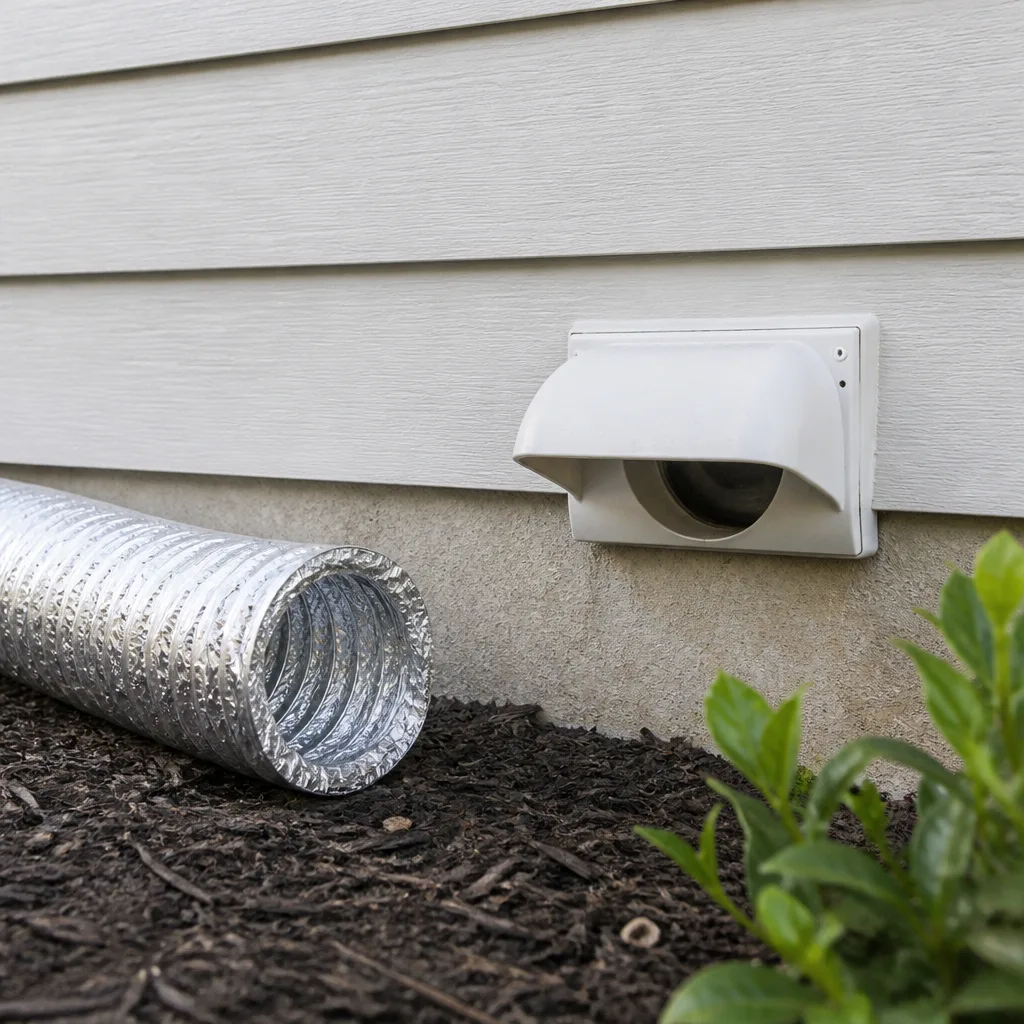 Dryer vent cleaning
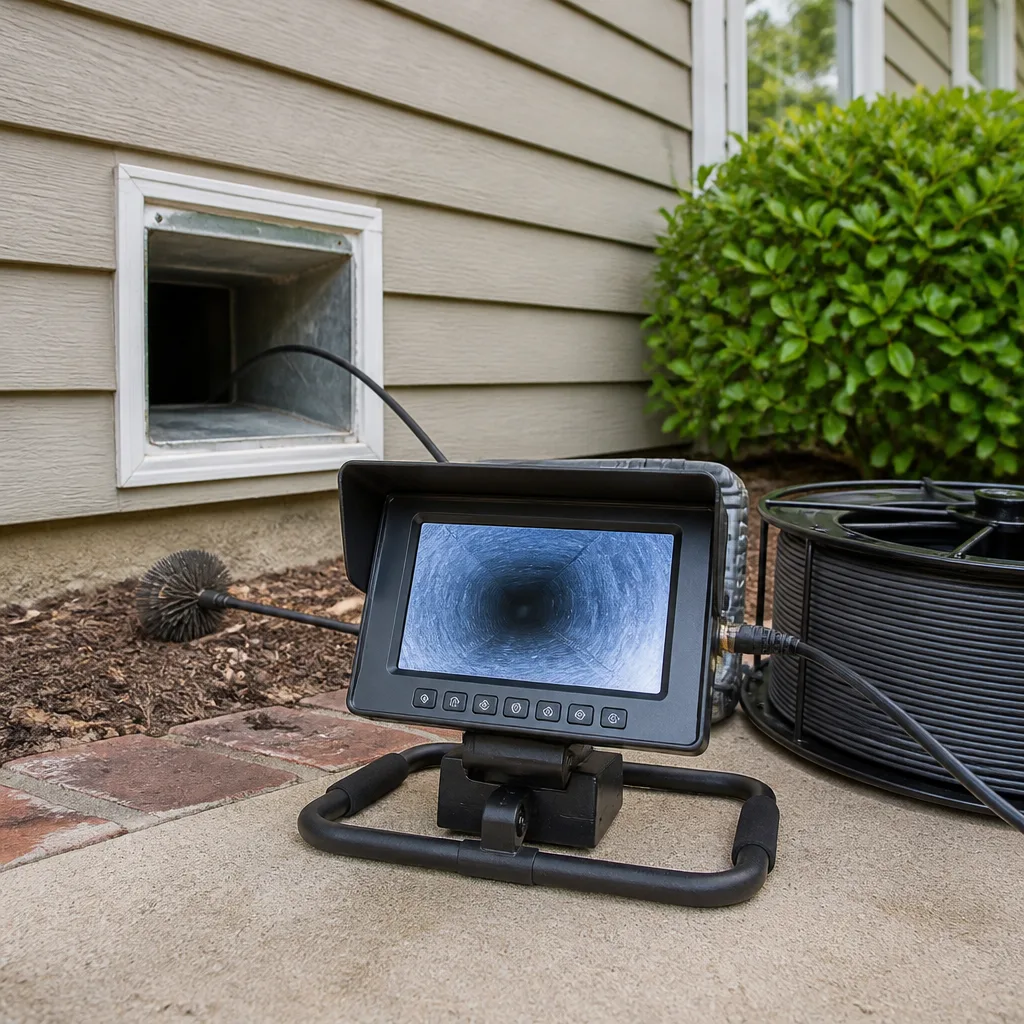 Camera inspection
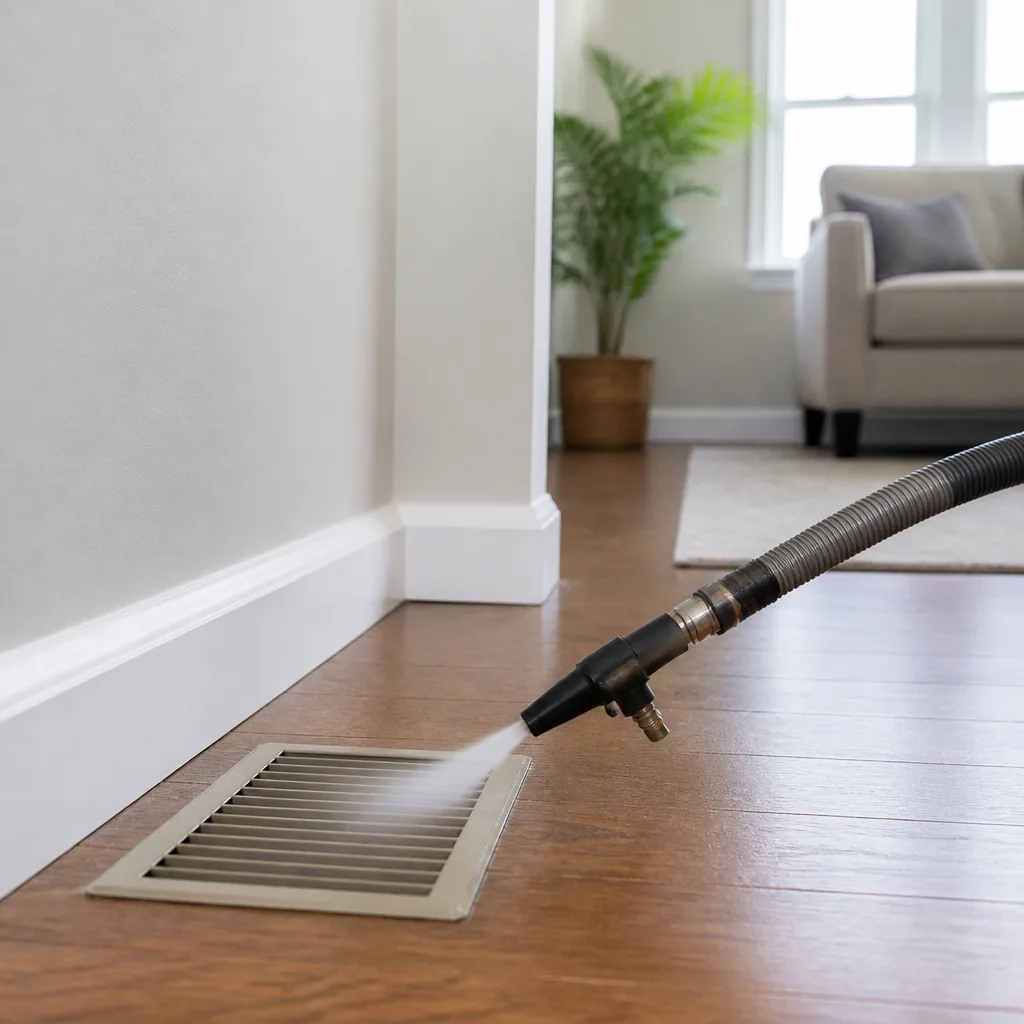 Sanitizing & deodorizing
Whole-system duct and dryer vent check with before-and-after photos - you see exactly what came out of your vents
That "$99 whole-house special" is a bait ad - the real number appears once they are in your hallway, or the "clean" is a shop-vac at the register. We photograph the inside of your ducts before and after instead.
Air Duct Cleaning Troubleshooting: Common Problems and How to Fix Them
If your house is dustier two weeks after a duct cleaning than it was before, the technician likely dislodged debris without capturing it. A negative air machine that wasn’t sealed properly at the register will redistribute more dust than it removes. This guide separates what you can diagnose from a ladder with a flashlight from what requires a professional re-inspection. We’ve written it from years of field work in Santa Clara, where homes built from the 1950s ranch era through the 2010s multi-story boom each present different duct realities. You’ll learn which post-cleaning symptoms are normal settling, which ones point to a botched job, and which ones signal an underlying duct defect that no amount of cleaning will resolve.
Styles & brands we work with
- Whole-home duct cleaning
- Dryer vent cleaning
- Camera inspection
- Sanitizing & deodorizing
Quick Answer
Most air duct cleaning problems fall into three buckets: debris left behind because the cleaning equipment wasn’t sealed correctly, airflow changes caused by improperly reinstalled registers or filters, and pre-existing duct damage that the cleaning exposed rather than caused. A 48-hour dust spike is normal; persistent dust after two weeks, musty odors, or reduced airflow from specific rooms means you need a re-inspection. The fix starts with a register-level check you can do yourself, and ends with a call to a contractor who uses commercial-grade equipment and inspects as they clean.
Table of Contents
- The Post-Cleaning Dust Spike: What’s Normal and What’s Not
- Musty Odor After Cleaning: Moisture Was Already There
- Reduced Airflow: The Three Most Common Causes
- How to Check Your Own Registers With a Flashlight and Phone
- Cleaning Problem vs. Duct Defect: How to Tell the Difference
- What You Can Fix Yourself vs. What Needs a Pro
- Post-Renovation Duct Cleaning: Santa Clara Specifics
- Honeywell and Aprilaire Systems: Cleaning Around Air Quality Components
- Common Mistakes to Avoid
- When to Call a Professional
- Frequently Asked Questions
- The Bottom Line
The Post-Cleaning Dust Spike: What’s Normal and What’s Not
You just paid for a professional cleaning and your coffee table looks like a construction site. Before you call the contractor back angry, understand this: a temporary dust spike in the first 48 hours after cleaning is expected. Here’s why. During a proper cleaning, the technician agitates debris that has been sitting undisturbed for years. Some of the finest particulate inevitably goes airborne during the process, even with negative air pressure. That particulate settles on surfaces in the following day or two. This is the “settling period” and it’s normal.
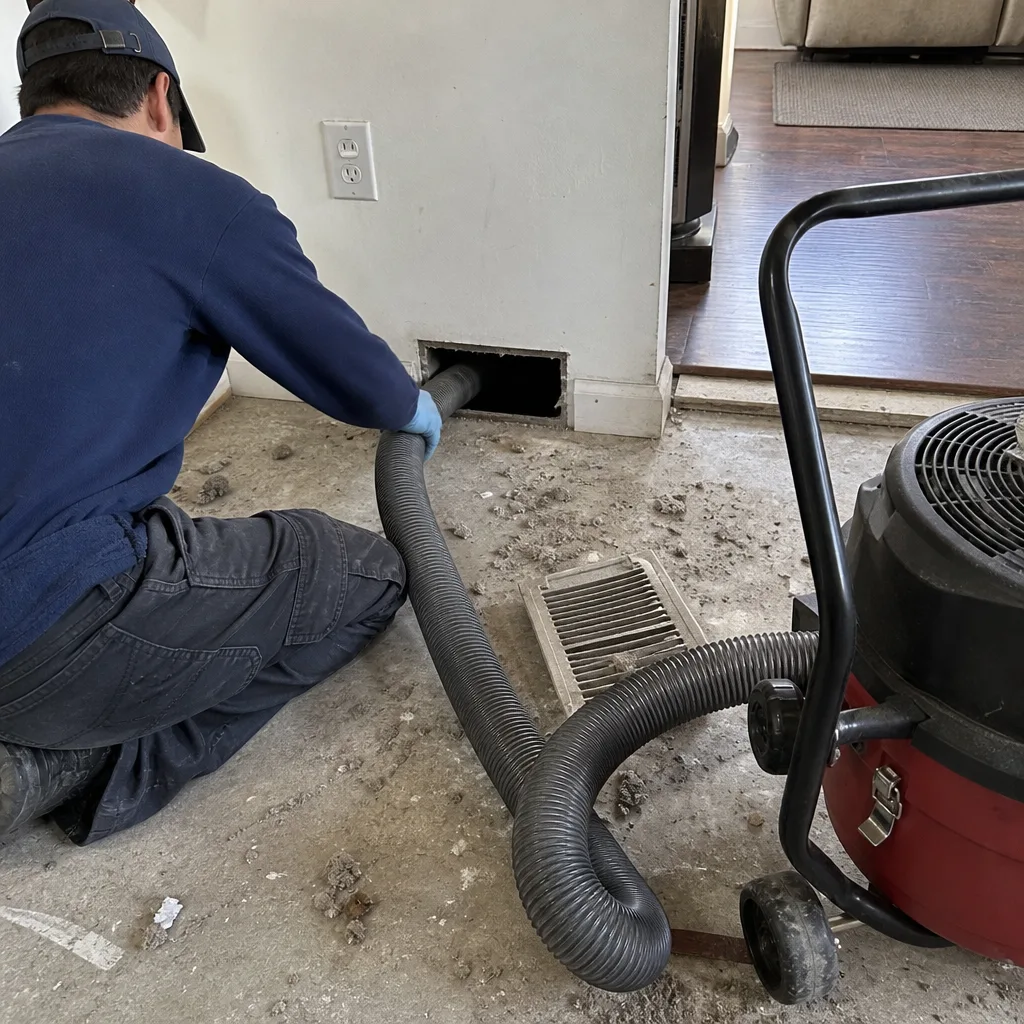
What’s not normal is dust that keeps accumulating two weeks after the job. That’s a red flag that debris was dislodged but never actually removed from the system. In our experience in Santa Clara homes, the most common cause is a negative air machine that wasn’t sealed tightly at the register. The machine creates suction that pulls loosened debris out of the duct, but if the seal isn’t airtight, the suction pulls air from around the register instead of from deep in the duct. The debris stays in the system and then blows back into your living space every time the HVAC kicks on. You’ll notice it first on registers, window sills, and the floor directly beneath supply vents.
Here’s a practical timeline for evaluating your post-cleaning dust:
- First 48 hours: Fine dust on surfaces near registers. Normal. Wipe it down and move on.
- Days 3 to 7: Diminishing dust. Normal. The air should feel progressively cleaner.
- Week 2 and beyond: New dust accumulation, especially dark or greasy particulate. This is not normal. The cleaning didn’t capture what it dislodged.
- Any grayish film that keeps returning to the same surfaces: This often indicates debris exiting the ducts under positive pressure. You need a re-inspection.
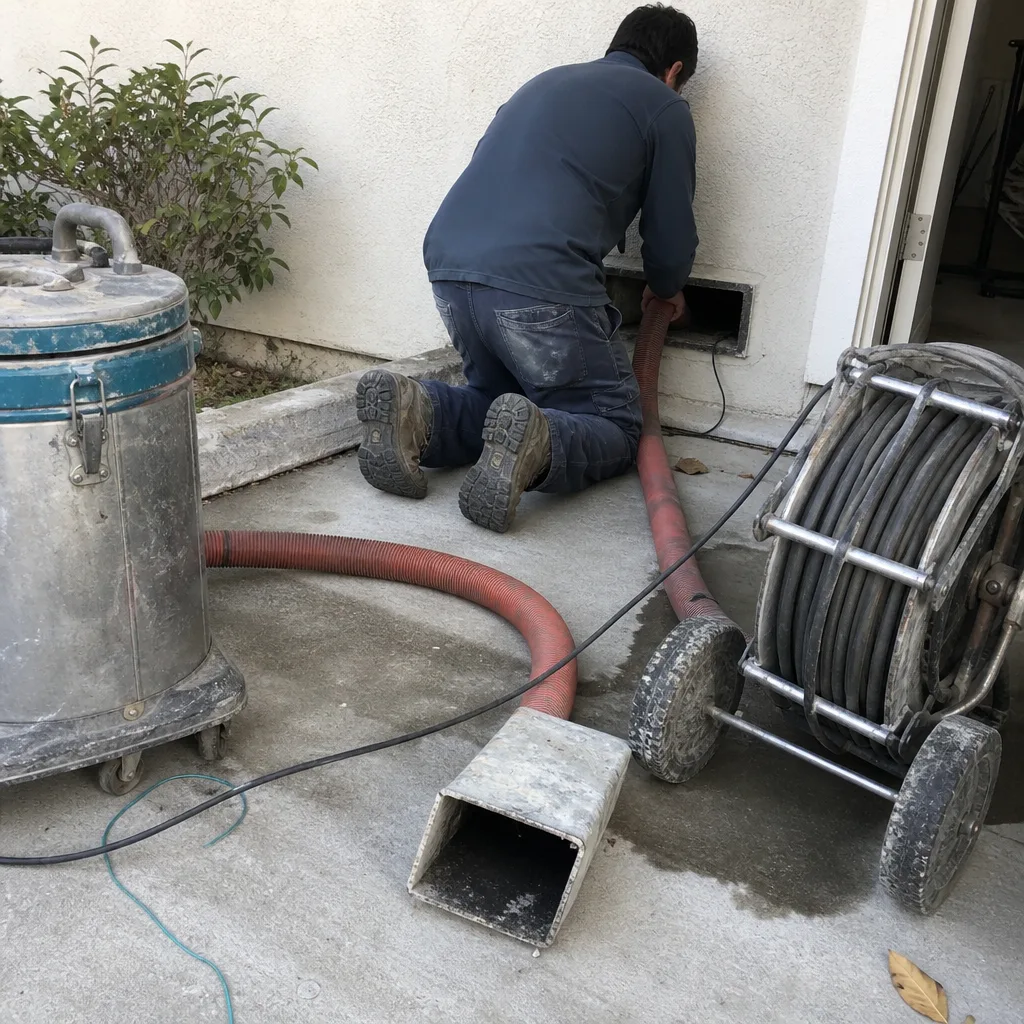
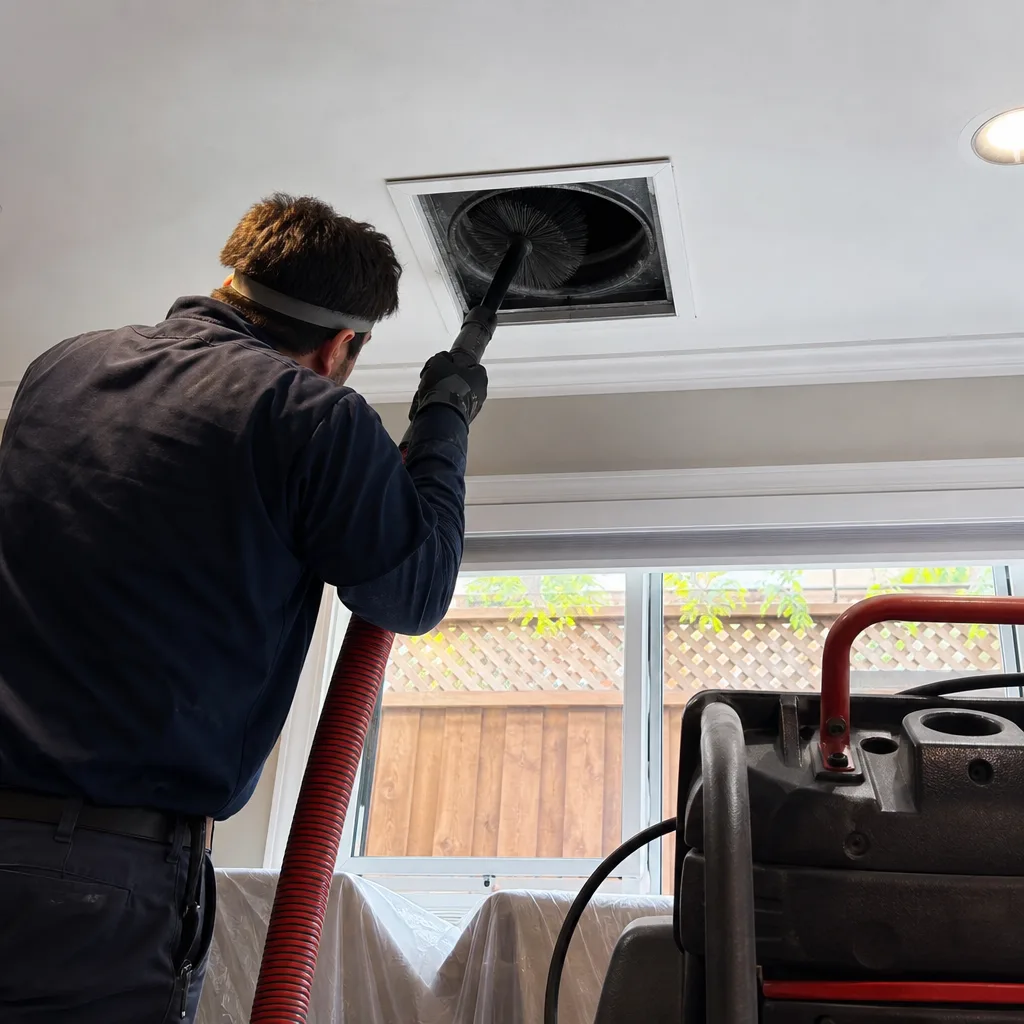
One more thing worth knowing: if the technician used a portable “shop vac” style setup instead of a truck-mounted or commercial negative air unit, dust spikes are more likely and less likely to resolve. Portable units lack the suction power to capture debris at the point of agitation. That’s exactly why Heritage Duct Cleaning home uses Nikro and Rotobrush systems, the same commercial-grade equipment used in restoration and remediation work, where recirculating dust isn’t just annoying, it’s a liability.
Musty Odor After Cleaning: Moisture Was Already There
A musty or damp smell in the days after a duct cleaning feels like a direct accusation against the contractor. Frankly, it rarely is. What you’re smelling is moisture that was already present in the system being disturbed and exposed to airflow for the first time in years. The cleaning didn’t cause the moisture. It revealed it.
Here’s what typically happens in a Santa Clara home. The HVAC system sits in a garage, attic, or crawlspace. Over years of operation, condensation forms in the evaporator coil area. If the drain pan overflows or the drain line clogs, that water migrates into adjacent ductwork. The duct insulation wicks the moisture. Then dust settles on the damp insulation and forms a microbial film. As long as the system runs normally, you may never notice it. But when a cleaning technician agitates that material, the odor compounds release and get pushed through the house. The smell peaks in the first week after cleaning and then may fade, but the source is still there.
A contractor who inspected properly should have flagged this before or during the cleaning. That’s the distinction between a technician who simply cleans what they’re told and one who diagnoses as they work. If you’re getting air duct cleaning in Santa Clara, ask the technician during the walkthrough whether they saw evidence of moisture in the plenum or return ducts. If they can’t answer that question confidently, they weren’t looking.
The fix for post-cleaning musty odor depends on the moisture source:
- Clogged condensate drain line: Have the drain cleared. This is an HVAC maintenance item, not a duct issue, but a good duct technician will mention it.
- Overflowing drain pan: Same deal. The pan needs to be cleaned and checked for proper slope.
- Moisture in duct insulation: This is more serious. Damp duct liner usually needs to be replaced. That’s where air duct repair in Santa Clara comes in – a service that most cleaning-only companies simply don’t offer.
- Humidity source in the crawlspace: If your ductwork runs through a damp crawlspace with no vapor barrier, the ducts will pull humid air into the system. The fix is addressing the crawlspace, not the duct.
If the musty smell persists more than two weeks after cleaning and you haven’t fixed a moisture source, you’re likely dealing with duct liner that needs replacement. Don’t keep cleaning it. It won’t help.
Reduced Airflow: The Three Most Common Causes
Reduced airflow after a duct cleaning is frustrating because the exact opposite should have happened. You paid for cleaner ducts, not weaker HVAC output. In most cases, the issue isn’t the duct itself. It’s something that was changed or disturbed during the cleaning process. Here are the three most common culprits, in order of how often we see them in Santa Clara homes.
Filter bypass or wrong filter installation. Every professional cleaning should include a filter inspection, but not every technician puts the filter back correctly. If the filter is installed backward, added where there wasn’t one before, or replaced with a higher MERV rating than your system can handle, airflow drops immediately. A MERV 13 filter in a system designed for MERV 8 will choke airflow, especially in older single-speed blowers. Ask the contractor what filter rating they installed and why. If you don’t get a straight answer, replace it with the MERV rating specified by your system manufacturer.
Improperly reseated registers or grilles. The technician removes register covers to clean and to access the duct opening. Sometimes those covers don’t go back on flush. If a register is misaligned, airflow is partially blocked or redirected. You’ll feel it as weak output from one specific room while others are fine. If your registers were removed for cleaning, confirm each one sits flush and isn’t obstructing the opening. They should be secured, not loose.
A damper that was moved. Many duct systems have manual volume dampers inside the ductwork near the main trunk. During cleaning with a high-powered agitation tool, a damper can be knocked from its prior position. If one room now feels colder or warmer than before, a displaced damper is a strong suspect. Ask the contractor to check damper positions. This is a 20-minute fix for someone who knows where to look and has access.
If none of these three are the issue, the problem may be more structural: a disconnected joint, a collapsed liner, or a crushed flex duct. Those are duct defects, not cleaning errors. More on that shortly.
How to Check Your Own Registers With a Flashlight and Phone
Before you call anyone back, you can do a basic inspection from the register level. This won’t replace a professional camera inspection of the full duct run, but it will tell you whether the problem is visible at the point where air enters your room. You’ll need a flashlight and a phone camera. That’s it.
- Remove the register cover. Most register covers are held by two screws or are friction-fit. Use a screwdriver or simply pull on gravity-fit covers. Set the screws aside somewhere you won’t lose them.
- Shine the flashlight into the duct opening at an angle. You’re looking for debris that’s visible from the first 12 to 18 inches of the run. Dust, pet hair, small construction debris, and anything that looks like it’s been sitting there for a while.
- Use your phone camera with the flash on. Put the camera close to the opening and take a photo at a slight angle. The flat lighting from a phone flash is better at revealing dust on duct surfaces than your eyes alone, especially in matte-finish metal or flex duct.
- Check the register boot, which is the transition piece between the duct and the floor or wall. This is the most common place for debris to be left behind because it’s where the duct opening narrows. If the technician’s vacuum attachment didn’t get into the boot, that’s where the buildup will be.
- Wipe the inside of the boot with a white paper towel. If it comes back covered in gray or black dust, the cleaning didn’t reach this register.
- Repeat on at least three or four registers in different rooms. If one register is dirty, it’s an isolated oversight. If all of them are dirty, the cleaning job was incomplete and the contractor needs to return.
While you’re down there, note whether the register cover itself is dirty. Register covers should have been cleaned or at least wiped down as part of a thorough job. A clean duct with a dirty register tells you something about the level of detail the technician brought to the work.
Cleaning Problem vs. Duct Defect: How to Tell the Difference
This is the distinction most troubleshooting content misses. Some problems can’t be fixed by better cleaning because they were never caused by cleaning in the first place. They’re structural defects in the duct system, and cleaning simply exposed them. Knowing the difference saves you money, because you won’t pay for a second cleaning when you actually need a repair.
Symptoms that indicate a cleaning problem:
- Dust that appears within days of the cleaning and comes from the registers.
- Debris visible in the register boot or the first few inches of the duct.
- Musty odor that appeared only after cleaning.
- Airflow changes in specific rooms (dampers, registers, filters).
- Loose register covers or visible gaps around them.
All of these trace back to the cleaning process itself. The fix is a re-clean or a correction by the original contractor.
Symptoms that indicate an underlying duct defect:
- Reduced airflow from a specific room that was present before the cleaning.
- A persistent musty smell that didn’t begin after cleaning, but got worse.
- Whistling or rattling sounds from inside the walls or ceiling near the duct path.
- Visible crushed or collapsed flex duct in an attic or crawlspace.
- Rooms that have never cooled or heated evenly, regardless of cleaning.
- Evidence of pest activity in the ducts, like droppings or nesting material.
These point to disconnected joints, crushed flex runs, collapsed liners, or duct leaks at the connection points. Cleaning cannot resolve them. In fact, cleaning a system with a disconnected joint can make things worse, because the vacuum pulls attic or crawlspace air into the system through the gap, introducing insulation fibers and dust from outside the duct into your airflow.
This is why we inspect as we clean. A camera inspection isn’t an upsell; it’s the only way to know whether the problem you’re trying to solve can actually be solved by cleaning. If it can’t, you need air duct repair in Santa Clara, not another pass with a brush. The right diagnosis keeps you from paying twice to solve a problem once.
What You Can Fix Yourself vs. What Needs a Pro
There’s a reasonable amount you can do from the register level without touching the duct runs themselves. Then there’s the point where a homeowner should stop, because duct repair tools aren’t in your garage and doing it wrong creates worse problems than the one you’re solving.
You can reasonably do these yourself:
- Register cover cleaning: Remove them, wash with warm soapy water, dry thoroughly, reinstall. Do this twice a year in Santa Clara, especially after wildfire season when ash residue accumulates.
- Filter replacement: Know your filter size and MERV rating. Check it monthly during heavy-use months. A clogged filter is the most common cause of reduced airflow that has nothing to do with dirty ducts.
- Register boot wiping: With the cover off, reach into the boot with a damp microfiber cloth and wipe the accessible surfaces. This won’t clean the full duct run, but it keeps debris from accumulating at the exit point.
- Visual register check: The flashlight and phone method described above. Takes 10 minutes and tells you more than any online review.
- Checking for loose register covers: If a cover is rattling or loose, tighten the screws or replace the cover. Air escapes around gap rather than being delivered into the room.
Leave these to a professional:
- Anything involving the air handler, evaporator coil, or plenum: These components are sharp, electrical, and expensive to damage. A wrong touch here means HVAC service calls.
- Duct joint sealing from inside the duct: Proper sealing requires mastic or metal tape applied to the outside of the joint, which means access to the duct exterior. If you can’t reach the joint, you can’t seal it properly.
- Flex duct replacement or repair: Crushed or torn flex duct needs to be replaced, not patched. It requires access to the attic or crawlspace and the right fittings.
- Fiberglass duct board repair: Damaged duct board releases fibers into the air. That’s a health concern and a repair job, not a DIY patch.
- Any full-system cleaning: Attempting to clean duct runs with a shop vac and a long brush is how homeowners create dust spikes, damage internal liners, and dislodge dampers. Commercial equipment exists for a reason.
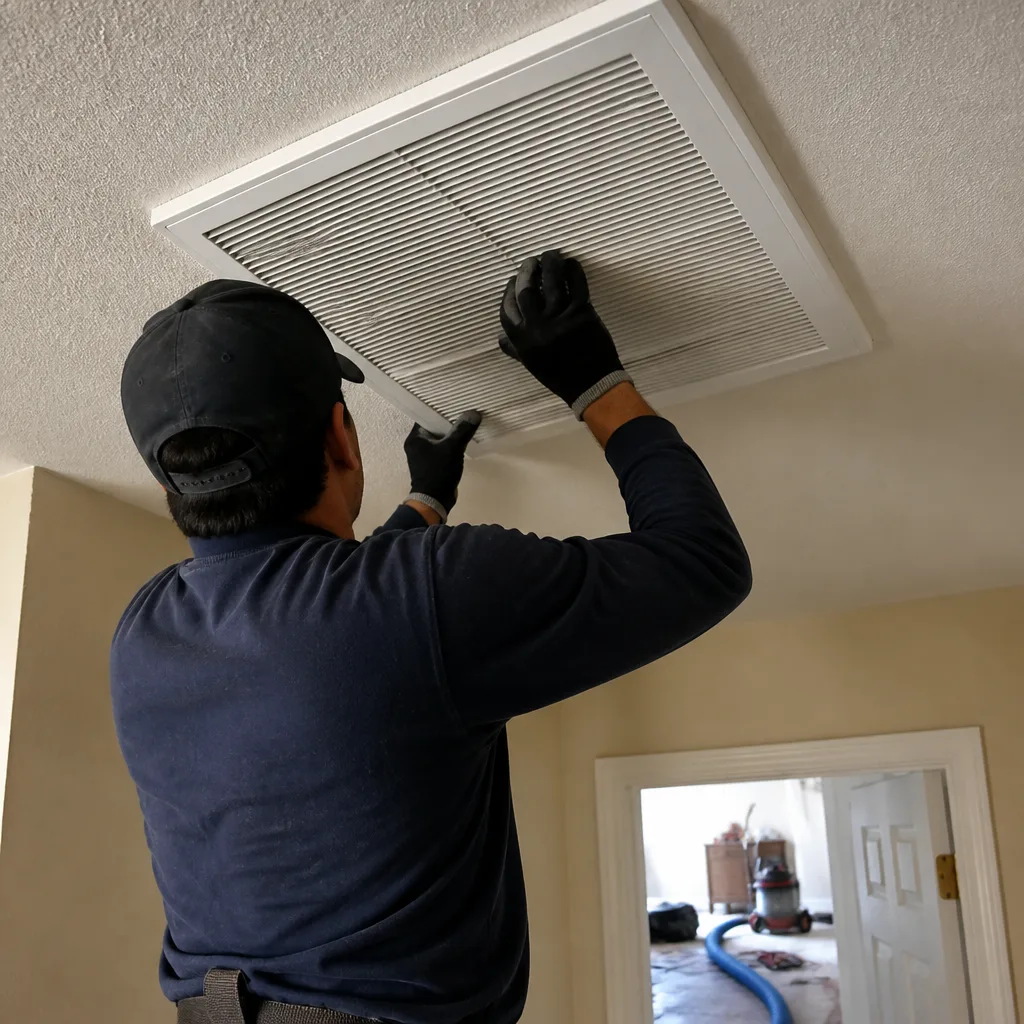
When we service air ducts in Santa Clara, the difference is visible in before-and-after photos. Commercial-grade equipment from Nikro and Rotobrush uses controlled agitation plus true negative air capture. That’s what prevents the debris from simply relocating from your ducts to your living room floor.
Post-Renovation Duct Cleaning: Santa Clara Specifics
Santa Clara has one of the most active remodeling markets in the South Bay. Homes built in the 1960s and 1970s are being expanded, kitchens opened up, master suites added. Every one of those projects channels drywall dust, sawdust, and demolition debris directly into the duct system. If your renovation didn’t include duct sealing during construction and a thorough cleaning afterward, your HVAC system is now delivering renovation dust to every room in the house.
Post-renovation duct cleaning is a different job than routine maintenance cleaning. The debris is finer, more abrasive, and more deeply embedded. Drywall dust works its way into the duct liner and will not come out with a standard brush pass. It also clogs the evaporator coil, reducing system efficiency. A proper post-renovation cleaning uses higher-suction equipment and often requires two passes: one to break the dust film loose, and a second to capture what the first pass dislodged.
We’ve cleaned Santa Clara ducts after full reno projects and found dust packed into the return ducts a half-inch thick. That’s not a maintenance item. That’s a system clog. The homeowner’s HVAC was running longer cycles to compensate, which put extra wear on the blower motor and increased their energy bill. After cleaning, the system ran noticeably shorter cycles because airflow was restored to the design spec.
If you’re planning a renovation, ask your contractor to cover all registers and the return opening during demolition and drywall work. Plastic sheeting and painter’s tape are cheap. A duct cleaning afterwards is still necessary, but the volume of debris will be dramatically less.
Honeywell and Aprilaire Systems: Cleaning Around Air Quality Components
Many Santa Clara homes have Honeywell and Aprilaire air quality components installed, often whole-house dehumidifiers, media air cleaners, or ERV/HRV systems. We’re trained on both platforms, and there’s a reason that matters when it comes to duct cleaning troubleshooting. If the technician doesn’t understand how these components interact with the duct system, they can damage them or bypass them entirely.
Here’s what you should know. Honeywell media air cleaners sit between the return duct and the air handler. If a cleaning technician removes the media filter to clean the cabinet and doesn’t reseat it correctly, air bypasses the filter entirely. That means post-cleaning, your house is getting unfiltered air and the dust spike won’t resolve. The filter must be reinstalled in the correct orientation, with the gasket seated, and the cabinet door sealed.
Aprilaire systems often include humidifiers mounted on the supply plenum. These have water panels and drain lines. During a duct cleaning, if the technician dislodges the water panel connection or the drain tube, you’ll get moisture in the system. That moisture creates musty odors and can damage the duct liner. The symptom is exactly what we described earlier in the musty odor section, but the cause isn’t pre-existing moisture. It’s a disturbed connection.
If your system includes these components, ask the technician during the walkthrough whether they’ll be cleaning around them and reseating any media or water panels. If they seem uncertain, that’s a signal. Not every duct cleaner is trained on integrated air quality systems. That’s also why we carry Abatement Technologies equipment in our toolkit. It’s built for environments where containment is non-negotiable, and it gives us the ability to handle systems that go beyond basic duct runs.
Common Mistakes to Avoid
- Skipping the filter check after cleaning. The filter is the easiest thing to disturb during a cleaning and the most common cause of post-cleaning airflow problems. Confirm it’s the right size, orientation, and MERV rating after any service visit.
- Accepting a per-vent price. Legitimate duct cleaning uses a whole-system price. Per-vent pricing encourages rushed work and leaves debris in the sections the technician is incentivized to skip. Ask for one flat price per system before work starts.
- Hiring a cleaner who doesn’t inspect. If the technician didn’t put a camera in the duct before and after the cleaning, you have no way to verify the work was done. Before-and-after photos are standard practice with commercial-grade equipment. Insist on them.
- Ignoring persistent musty smell. A musty odor that lasts more than two weeks after cleaning is a moisture problem, not a cleaning problem. Waiting makes the eventual repair more expensive.
- Using a shop vac for DIY duct cleaning. It agitates debris and pushes it deeper into the system. You’ll make the problem worse, not better.
- Assuming reduced airflow means you need another cleaning. If airflow dropped after a cleaning, the problem is more likely a filter, damper, or register issue. A re-clean won’t fix any of those.
- Not sealing registers during renovation. If you’re remodeling in Santa Clara, covering your registers during drywall and demo work will save you a deep-cleaning bill later.
When to Call a Professional
Call a professional if you’re seeing persistent dust more than two weeks after a cleaning, if a musty odor doesn’t resolve or gets worse, if one room has weak airflow while others are fine, or if your flashlight inspection reveals debris still sitting in the register boots. Call immediately if you see moisture, mold-like staining, or pest activity in the duct openings. These are not cleaning issues. They’re system defects that need diagnosis and repair. Heritage Duct Cleaning offers free estimates in Santa Clara. Call (855) 550-3778 and we’ll send a technician to inspect the system, confirm what’s actually happening, and tell you honestly whether the fix is a re-clean, a repair, or something else entirely.
Frequently Asked Questions
A whole-system duct cleaning in Santa Clara typically runs from $350 to $650 depending on home size, number of registers, and the amount of debris in the system. That’s the honest range for a legitimate cleaning with commercial-grade equipment. Anything priced significantly below that is either a teaser rate designed to upsell you on-site, or a technician with underpowered equipment who can’t actually remove debris from the full duct run. Call (855) 550-3778 for an exact quote. Estimates are free and you’ll get one flat price per system before any work starts.
The difference comes down to three things: equipment, thoroughness, and what’s included in the base price. Cheap quotes usually come from technicians using portable shop vacs instead of truck-mounted negative air units, which means less suction and incomplete debris capture. Some low-price companies also quote for basic vent wiping rather than full duct cleaning, or they exclude the return side of the system. You’ll pay the difference later, either in a second cleaning or in dust that keeps blowing back into your house.
Ask for before-and-after photos of the main trunk line and at least a few representative registers from inside the duct. Any contractor using professional equipment should offer this as standard practice. You can also do the flashlight and phone camera check at the register boot after the job. If debris is visible within the first few inches, the cleaning didn’t reach that section. If you can’t get photos or the technician seems reluctant to show you the work, that’s a red flag.
For most Santa Clara homes, every three to five years is appropriate. You should clean more often if you have pets that shed heavily, if you’ve renovated recently, if anyone in the home has significant allergies or respiratory conditions, or if you live near a busy road or construction area where outdoor dust infiltration is constant. A system that includes Honeywell or Aprilaire components may also benefit from more frequent cleaning because those systems are more sensitive to accumulated debris on sensors and media surfaces.
Duct cleaning can remove the organic material that’s holding the odor, but it cannot fix the moisture source that caused it. If water is entering the system through a clogged drain, a leaking plenum, or a damp crawlspace, the odor will return. The right approach is cleaning plus moisture source correction. That’s why we inspect as we clean. If we see evidence of moisture, we tell you before you pay for work that won’t solve your problem.
Dryer vent cleaning affects your dryer’s performance and fire safety, not your general indoor dust levels. But dryer vent cleaning in Santa Clara is worth doing annually regardless, because a clogged dryer vent forces the dryer to work harder and pushes lint particles back into the laundry area. If you’re troubleshooting dust in a room adjacent to the laundry, a clogged dryer vent could be contributing. That’s a separate issue from duct cleaning, and the fix is straightforward.
The Bottom Line
Most post-cleaning complaints don’t mean your ducts are broken. They mean the cleaning was incomplete, the filter was reseated incorrectly, or a pre-existing issue was left unaddressed. You can identify which one you’re dealing with through a simple register-level check: a flashlight, a phone camera, and a paper towel will tell you a lot. If debris remains visible in the boots, call the contractor back. If airflow is weak in one room, check the filter and dampers first. And if the problem traces back to a collapsed liner, disconnected joint, or persistent moisture, no amount of re-cleaning will fix it. You need inspection and repair. We’ve built our business around that distinction, because it’s the difference between paying once for a solved problem and paying repeatedly for a symptom that keeps coming back.
Written by the team at Heritage Duct Cleaning, serving Santa Clara since 2015.
See the difference
 Before
 After
 Before
 After
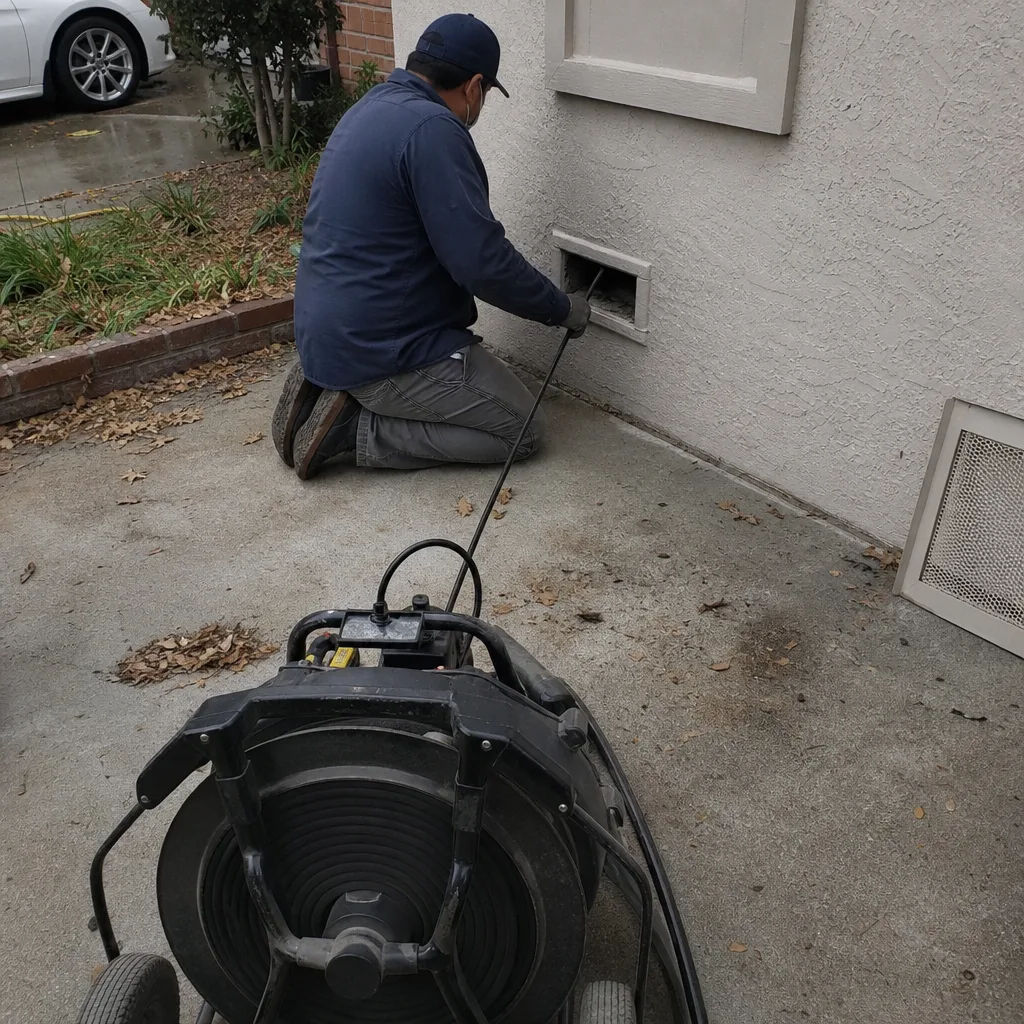 Before
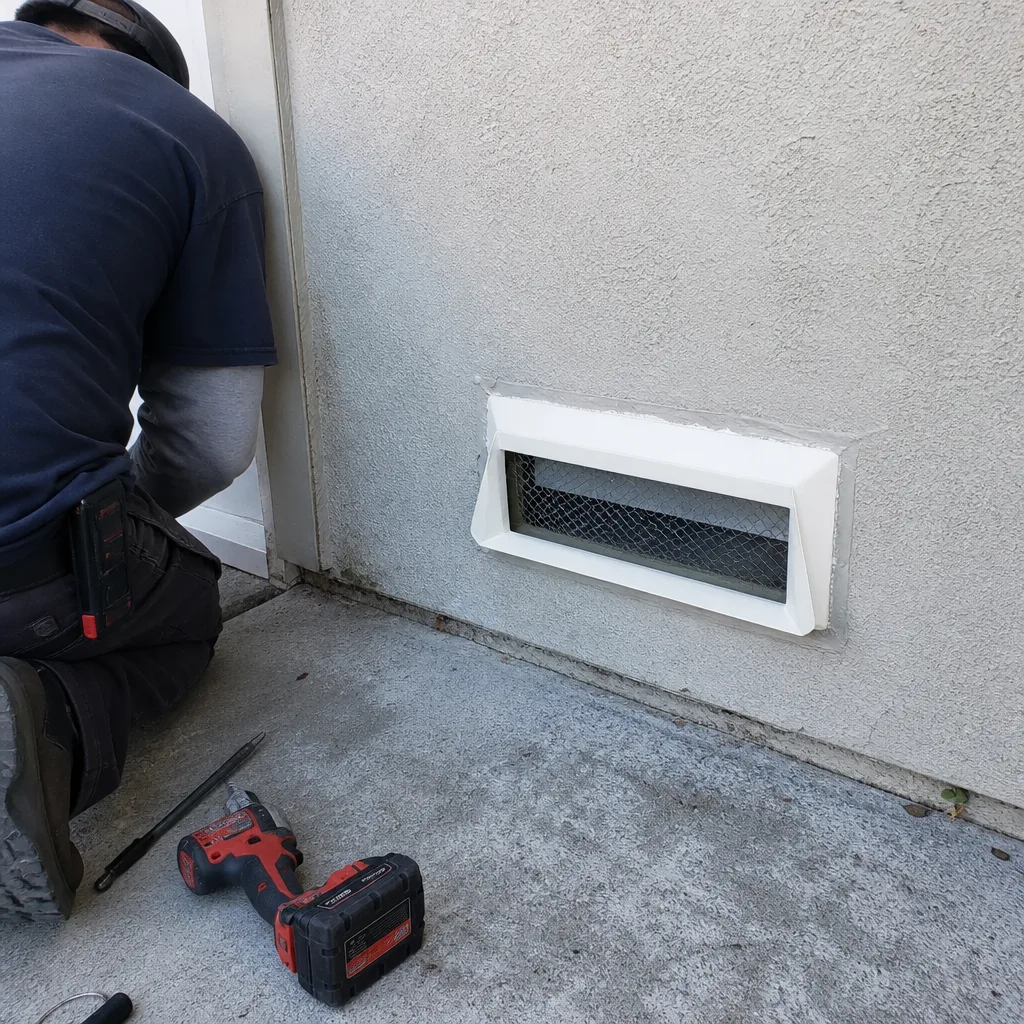 After